28 February, 2014

Testing the electronics: moving the Y-axis stepper motor

Finally, something is actually 'moving'!

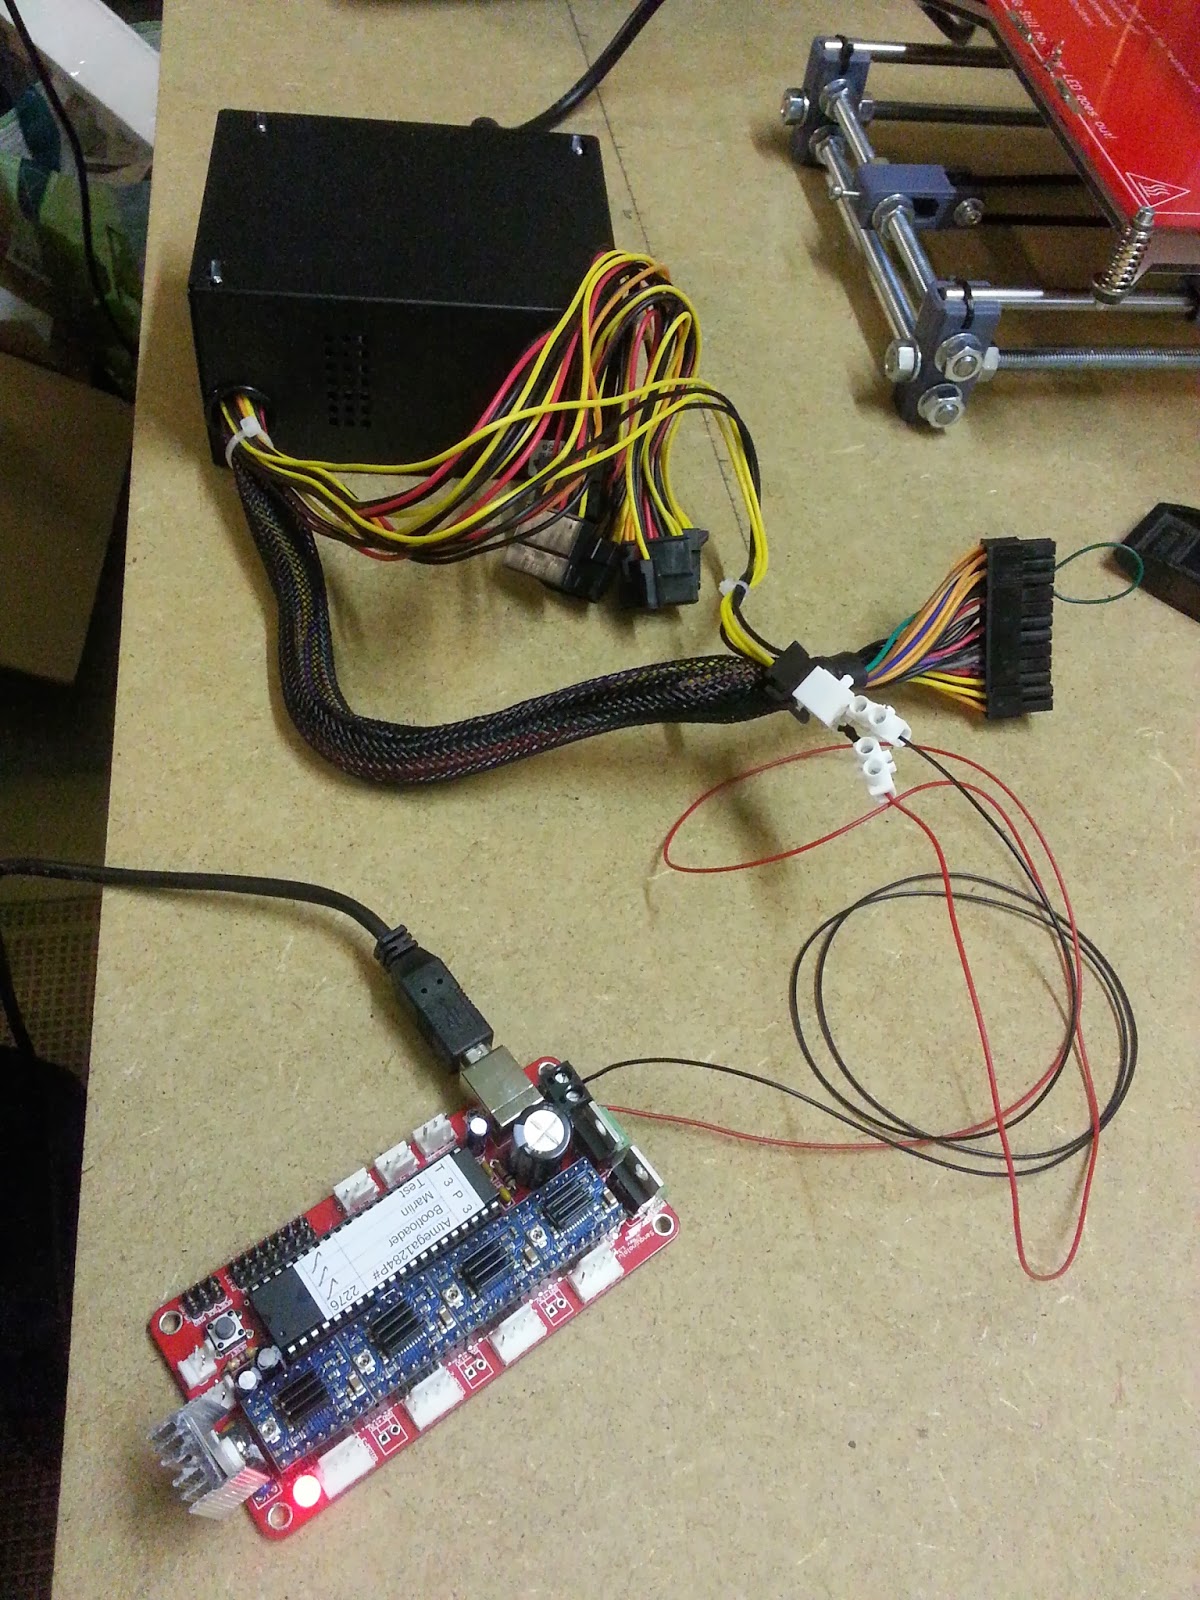
To test the Sanguinololu and the Pololu steppers and the connection to Pronterface I wired up the Y-axis stepper motor. Also had to connected both thermistors (heatbed & hotend), otherwise Pronterface returns errors about low extruder temperatures.

Warning!
The images in this video were extremely exiting for me,
but will be disappointing for any other 'normal' person..

26 February, 2014

Sanguinololu ATX Powered & USB connected to Pronterface

The Sanguinololu board is powered by a 400 Watt ATX power supply.
You really need to short circuit ATX pin 16(green) to ground(black) to enable power(!PWR_ENABLE) on the 4 pin connector.
The USB Connection goes to to a Virtual Serial COM port on the PC.


Started up Pronterface and successfully connected to the "printer" (still need to do all the wiring) using COM port 3 with a 250000 baudrate

The smoke test didn't cause actual smoke so i'm happy!


The Electronics: Sanguinololu with Polulo stepper drivers

The Electronics: a Sanguinololu controller and 4 Pololu Stepper drivers (one for each axis X,Y&Z and one for the Extruder Stepper motor). The Polulo drivers shown here are Ice Blue Stepsticks.

Here the Pololus are mounted on the Sanguinololu. Let's hope we don't blow these up when powering up the Sanguinololu.

Next step: wiring - extend and route all wires to the Sanguinololu board.
(and finding out where the mechanical endstops go for each axis.

This is the Sanguinololu wiring schema:

Mounted an extra Fan needed for printing PLA, not needed for printing ABS.

25 February, 2014

MK2a Heatbed assembly & installation

Preparing the MK2a heatbed components for assembly (1 led only)

Assembled and mounted the heatbed to the Prusa carriage.

23 February, 2014

Wade extruder done!

Finally got the complete extruder + hotend + pololu stepper assembled... Hardest step yet!

Pololu steppers + belts installed

Added the Pololu stepper motors and the belts.
(Pololu Type: NEMA17 Stepper motors 1.8 degrees step / 4.8 kg/cm)

The Extruder has to come of again to attach both the stepper motor and the hotend.

22 February, 2014

Assembling the E3D 3mm all metal hotend

Started with assembling the E3D all metal hotend - version 5. The version here is a direct one and not a Bowden.
Check the full assembly guide here.
Working with the 2mm thermistor is tricky
Getting the thermistor in place with Kapton tape is even trickier...
The fully assembled full metal hotend that can reach 400° C - they say...

21 February, 2014

Extruder mount ready

"Extruder mount" ready to be mounted to the frame!

X-Y-Z axis

The X, Y and Z axis are installed and slide smoothly. Didn't run in too much troubles... yet.
Starting on the Extruder mount next.

Hardware checklist & Step 1 completed

Checked the hardware parts list for the carriage. All parts seem to be in place.

Step 1 completed! And made the preparations for 'Step 2'. Still a long way to go...

18 February, 2014

Day 0 - Post items delivered


Two packages were delivered today - after waiting for two weeks.

One package from RepRapUniverse.com :
  • 1 x Prusa i3 Achatz Edition 3D Printer Kit
  •    + 3D Printer Controller: Sanguinololu 1.3a
  •    + Printed Parts (Grey)
  •    + Fan & mount for printing PLA
  • 1 x 1 KG Spool 3 mm Filament - Silver - ABS
And another package from Conrad.be
  • 1 kg Velleman PLA 3mm Blue
A start of a new hobby...

The next industrial revolution is upon us, might as well join in