To test the PLA material I never printed with until now I printed some planetary gears.
This is a customized version of Emmet's Gear Bearing on Thingiverse. The tolerance is set to 0.3 in the customizer. I'll print another one with 0.1 as these are even a bit too loose...
Printed in PLA, extruder @ 200°C, heatbed @ 65°C, layer height 200µm, (still no cooling, I really need to connect my PLA extruder fan to my electronics!)
Upgraded my Prusa i3 with a Panelolu 2 display/controller.
The display has an SD-card slot so no need to keep a computer running while printing. You can print G-code right off the sd-card. Saves on power consumption as well!
While printing you can also monitor and change the temperatures for the heatbed & extruder and change the power to the extra extruder fan (needed for PLA).
Because of the 'adapter board' you can plug the LCD into the Sanguinololu without soldering or adding components.
You do need to add an LCD library called Lincomatic to the Arduino IDE and flash updated Marlin firmware to the ATmega 1284P chip. The T3P3 Marlin fork can be found on GitHub.
Full Panelolu2 installation instructions are available at Think3dPrint3d 's blog. When the instructions say: "Don't use Arduino 1.x", then don't! Marlin was originally designed for Arduino 0.23 and does not work on 1.x, trust me...
I've spent days configuring and calibrating the printer to print with ABS and I'm very happy with the print quality. I have a spool with Blue PLA lying around that I want to try next. For that I'm going to install the Panelolu2 display and I need to make changes to my Marlin firmware. As I don't want to mess up anything i'm going to take a backup of my Marlin firmware and Slic3r configuration and share it here with you.
Marlin Configuration.h
for a Prusa i3 (without Panelolu2 upgrade)
Slic3er settings for ABS
I'm only listing the relevant settings that are not 'defaults' in Slic3r. To access all these settings you need to switch from Simple to Expert mode in your Slic3r preferences.
My first print for 3dhubs.com arrived via my 3D-Hub. It's a Dr Who character, the War Doctor.
This was my first print with Support Material generated in Slic3r, it works way better as I expected. You have to remove the support material afterwards and it may leave some scars behind.
The War Doctor on Thingiverse: the Remixed version works fine, the original isn't printable due to lots of errors in the meshes.
A time lapse video of 3d printing the War Doctor including support material - Print time was 6,5 hours
Ingress Portal Key for an Ingress Resistance player
A guitar pick for TWEX's guitar player & rockstar Bjorn V.G.
Next I'm planning on attaching the Panelolu 2 Display I've been having for a couple of weeks now to start printing with PLA. The extra extruder fan can be controlled with header outputs on the Panelolu2 PCB. For now I've been printing only with ABS. I'm now reading on how to connect, configure and use the display with Sangiunololu and Marlin Firmware.
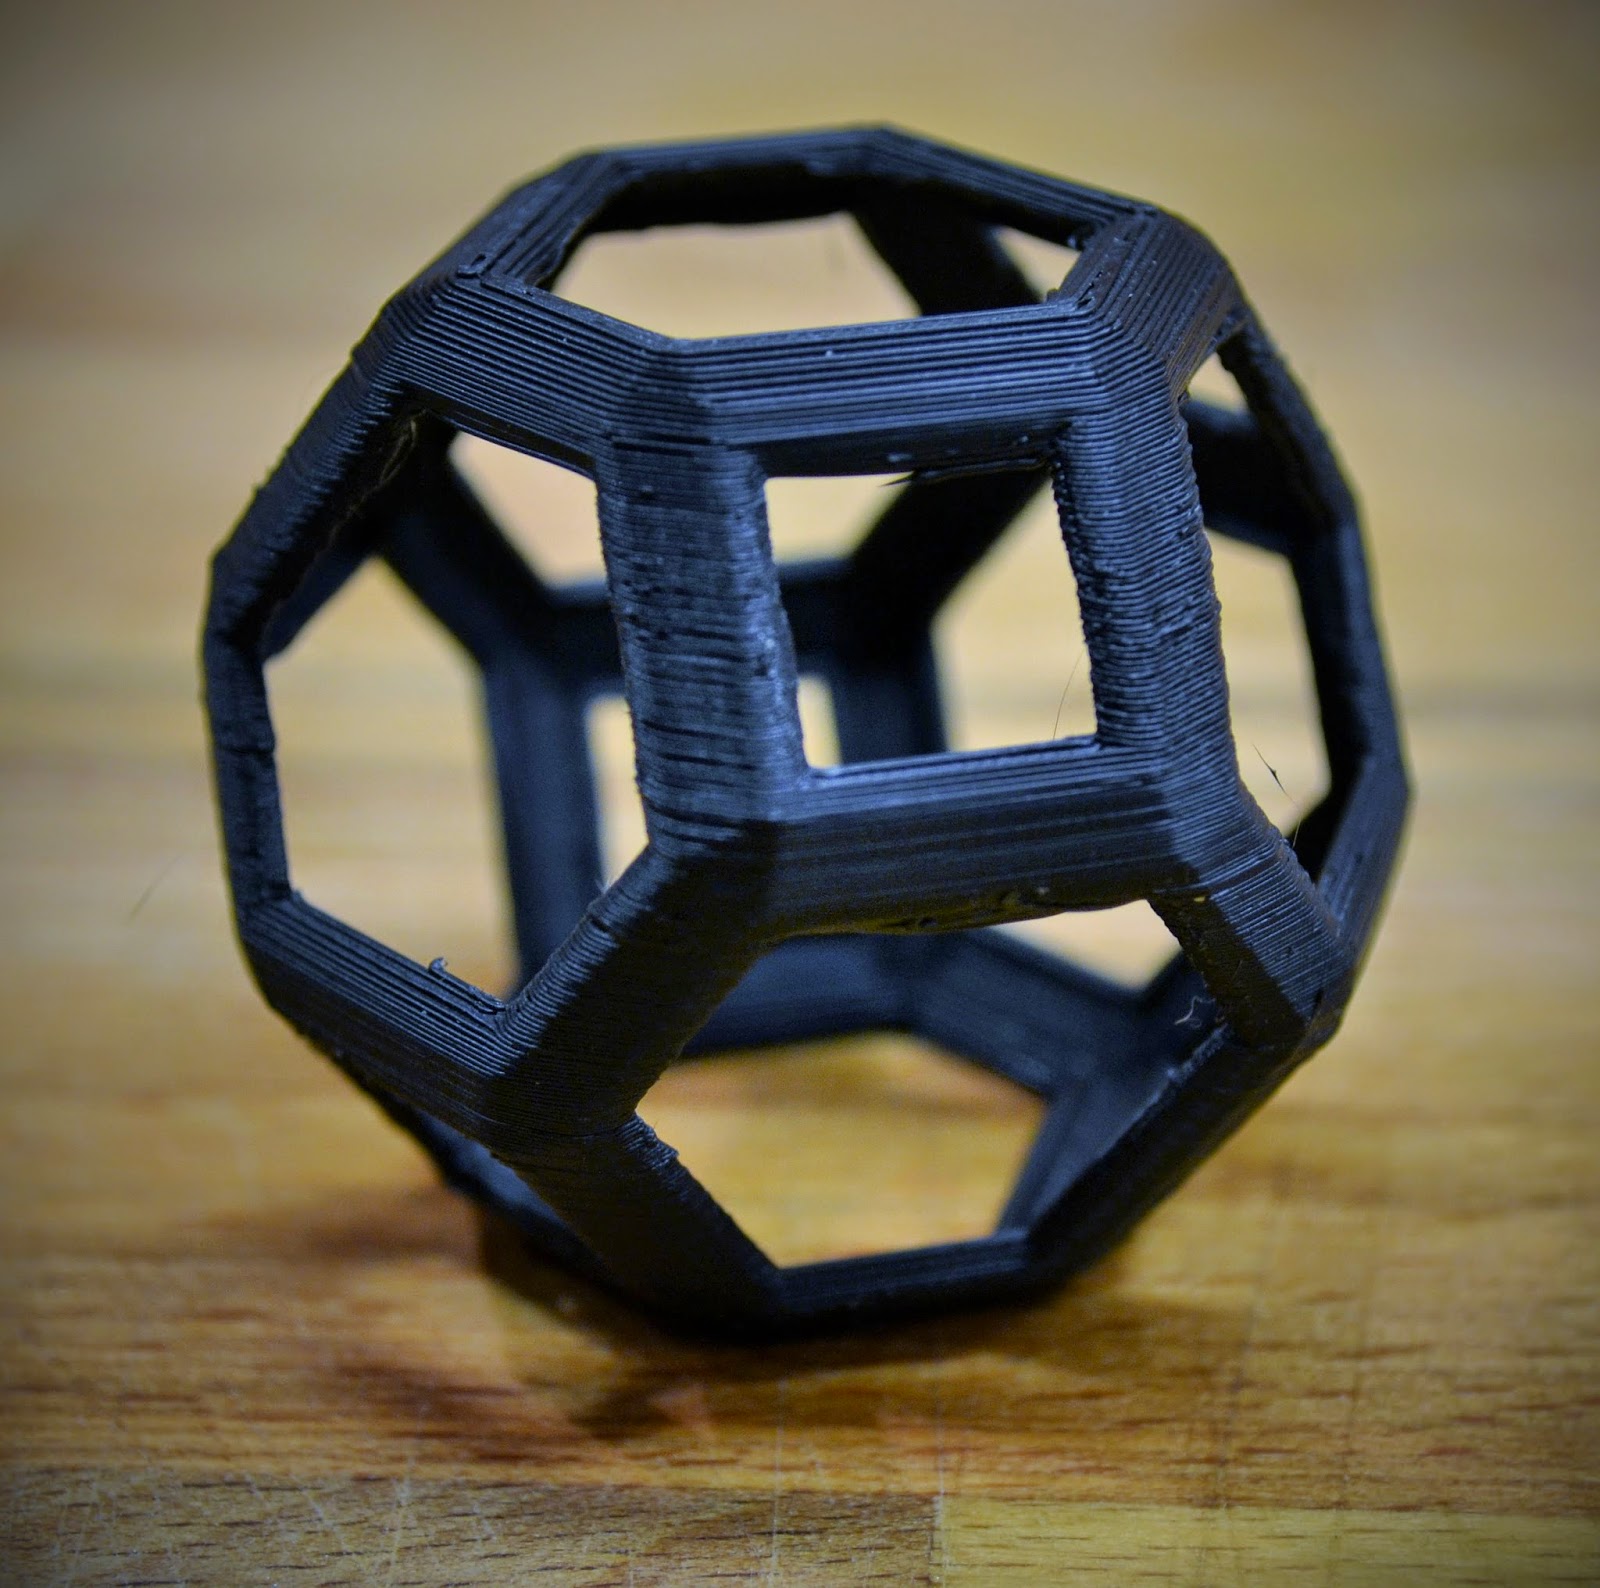
My brother, Sammy aka XyZeR, made this variation of a dodecahedron in 3ds Max. Although not frequently used for 3d printing, 3ds Max can also generate polygon models perfect for 3D Printing.
I almost forgot to print spare parts for my Prusa i3 RepRap. I decided to first print the extruder herringbone gears as they seem to wear the most.
I'm very happy with the quality of the printed herringbone gears.
Let me know if you need spare parts for your RepRap!
It's been a while since I posted a video of the printer in action...
On my PC I use a webcam viewer app and TeamViewer is active so I can check on a print using my SmartPhone / Tablet / PC from anywhere in the world! And it's free.
My friend Leo was so kind to design and draw an adjustable Z-endstop mechanism in a CAD program.
STL Files are available on Thingiverse: Prusa i3 Adjustable Z-Endstop by Leo van der Pauw
The mechanism is working fine!